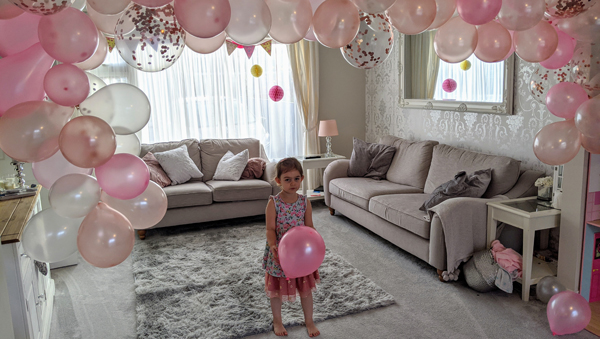
Make a cheap balloon arch for under £10
If you are looking for ideas to make an upcoming party really stand-out then you have come to the right place! Birthday party, Christmas gathering, wedding party, house-warming party, whatever the occasion, this DIY balloon arch is sure to impress.
You’ll also be pleased to know it is exceptionally easy to make and can obviously be tailored to any colour scheme. Pretty in pink, baby blue, rainbow unicorns, sophisticated silver and whites, anything goes.
Coming in at a whopping £7 it is the surest way to create an expensive look, without the price tag. All you need are:
- Some balloons – we got our balloons from Ebay but obviously there are plenty of places you can find balloons
- Balloon tape – again our balloon tape came from Ebay.
String, sellotape and hand pump are all optional (but recommended).
Step 1: Pump up balloons
So many balloons… I would again highly recommend a hand pump (and perhaps do it in a couple of stages alongside getting other things ready).
I think going for 2 or more colours can add a lovely colour depth to the arch. We went for pearl white, rose gold, and pearl pink. Then a random pack of white/rose gold confetti balloons. They looked stunning together!
Try and blow the balloons up into various sizes. I did a small, medium and large group for each colour set.
Step 2: Grab your balloon tape and start putting your balloons through the holes
Start a few holes down, so you have a bit of excess tape to stick onto the wall. Put one balloon (alternating colours) through every third hole.
Swap the sides you put the balloons into the tape. One on the right side then 3 holes later one on the left side. It can get a bit tight on space so use some of the smaller balloons when you need to (small ones are excellent gap fillers for any exposed tape).
Obviously you can play around with it and see what looks best and what you prefer.
Step 3: Stick the arch to the wall
Once you have the balloon beast ready, you can pop it onto the wall (without popping it all of course). You’re meant to use sellotape for this bit, and if you can make that work then excellent.
Ours kept jumping off (it was very bulky), so we decided to hang it using string and picture hooks which we nailed into the wall at 3 points (one on each end and and one in the middle). That worked perfectly for us!
That is about all you need to do. It won’t break the bank but it will look amazing!
Top Balloon Arch Tips:
- Be prepared to lose a few balloons along the way
- If you want the arch less bulky then put the balloons in every 6th hole (this creates a more flowing look, but you may have more of the tape exposed)
- Try adding confetti balloons, it compliments the colours nicely
- Buy balloons of different sizes
- Depending on the size of your arch, buy an extra pack of balloons to make sure you have enough. As my husband always says, it’s better to have it and not need it than need it and not have it 🙂
That’s about all you need to know. If you have any questions please pop them into the comments box below or come find me on Instagram where I always reply to my DMs. I’d love to see how any of you get on with this!
Good luck!